
1
The first task is to burn one end of the tailgut.

2
Next, you hold the stitching gut in place on the tailgut with a couple of inches sticking up, away from the tailgut. The rest of the length of stitching gut can hang down.
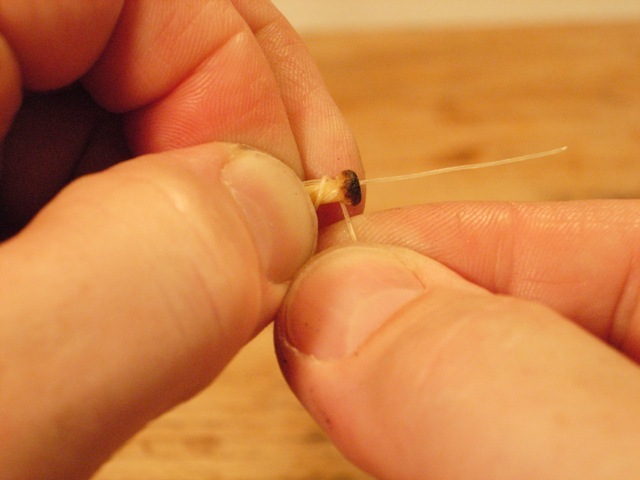
3
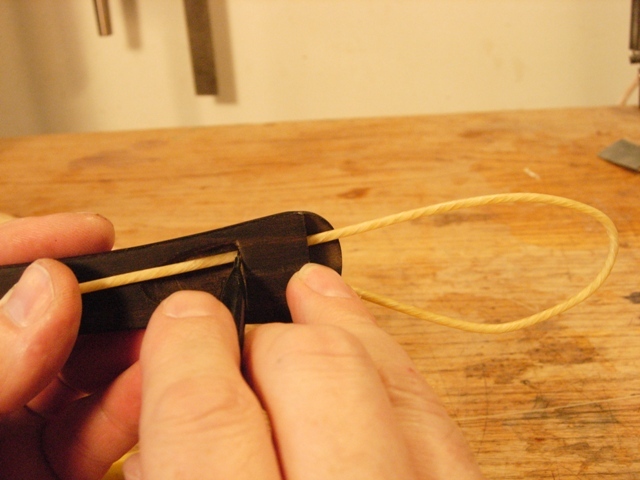
Take the long section of stitching gut and wrap it around both the tailgut and the short section of stitching gut.
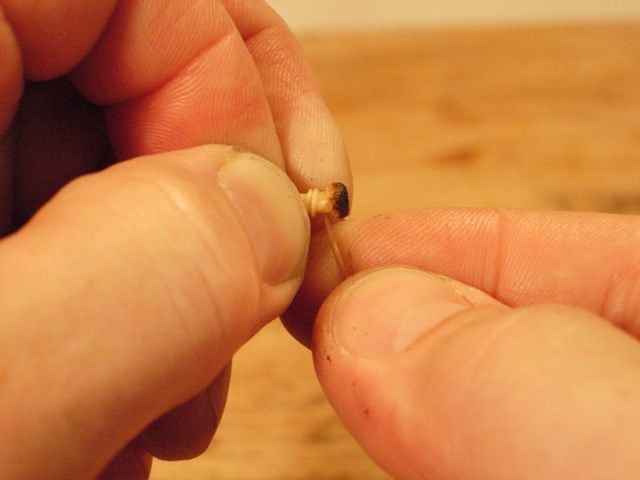
4
Wrap the stitching gut around a second time, wrapping toward the burnt end.

5
And then repeat the wrap, so that you have at least three turns around the tailgut and stitching gut. At this time you can release you hold on the loop of stitching gut you have been holding against the tailgut.
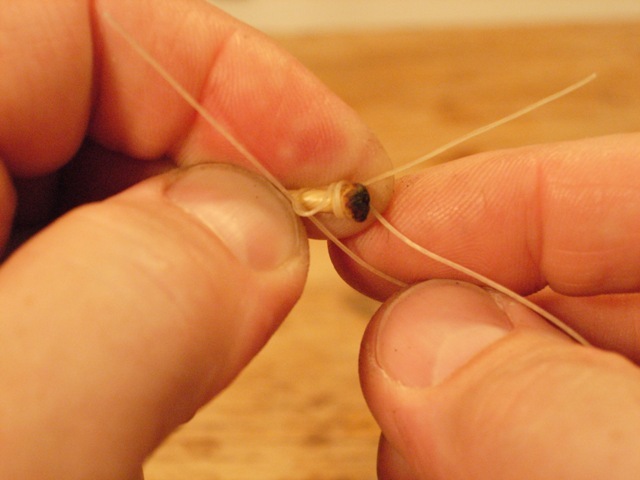
6
Next, pass the long length of stitching gut through the loop.
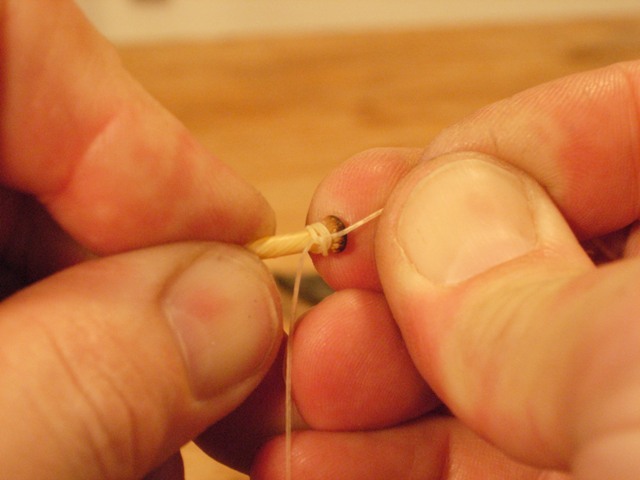
7
Now, pull both ends, so that the stitching gut is tightly bound onto the tailgut gust below the burnt end.
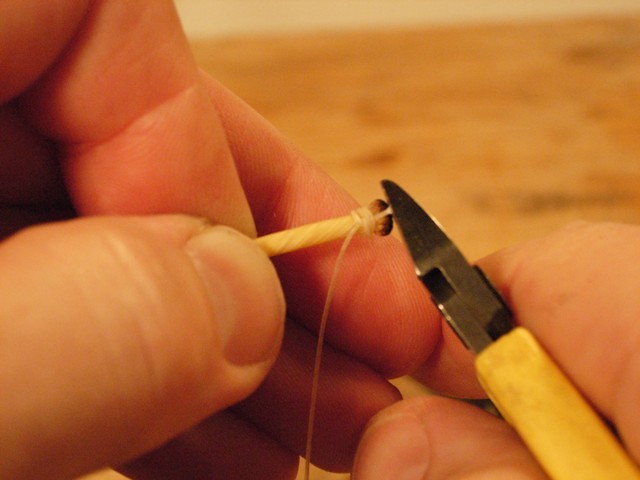
8
Next, clip both ends of the stitching gut so that there is about 1/8" on each side.
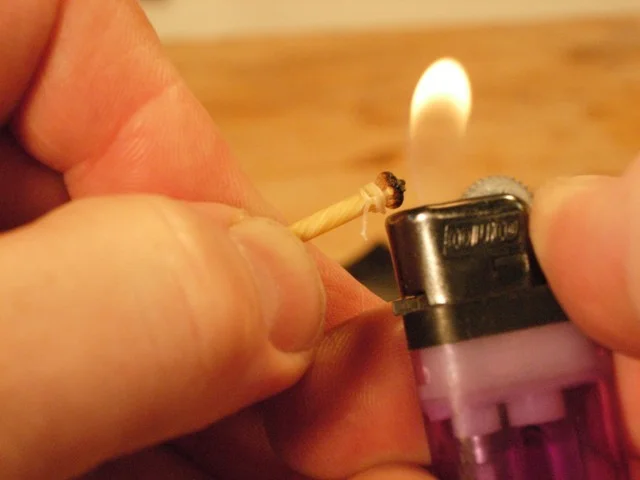
9
Then, burn each end of the stitching gut close to the wraps.

10
So that they look like this:
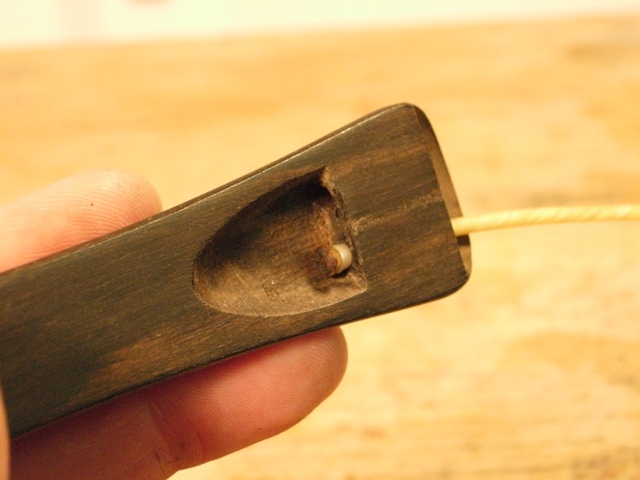
11
Then, slip the tailgut through the tailpiece.
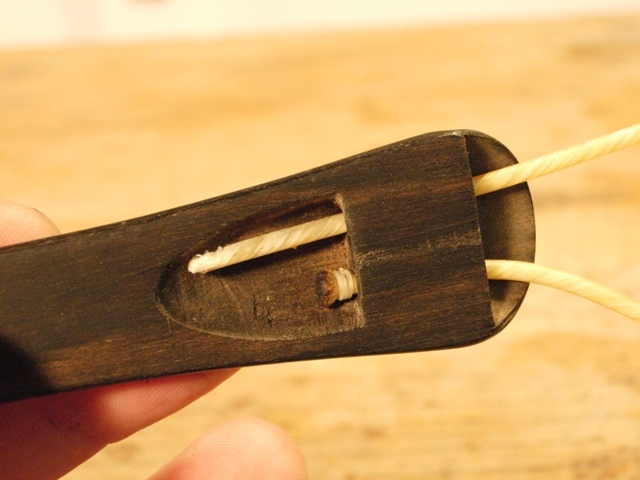
12
Bring the other end of the tailgut up through other hole.
13
Put the tailpiece on the instrument and gauge the length of the tailgut. The exact length will depend on your own thoughts about tailgut length, and, since that is not the point of this essay I will not get into the theories about tailgut length here. Use your own system to establish the length of the tailgut and mark the gut with a pencil just at the inside of the tailpiece.
14
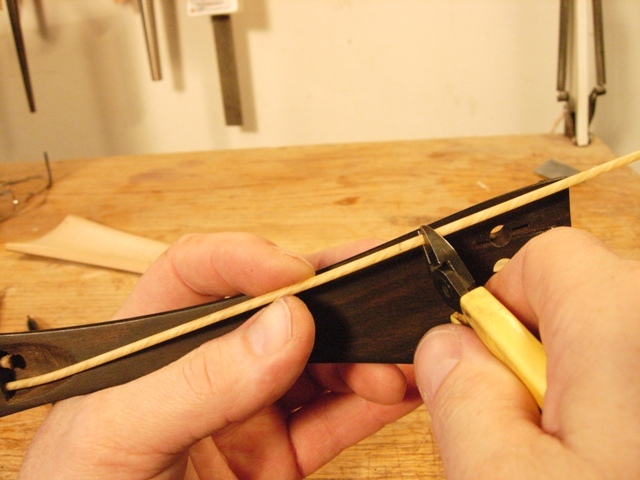
Cut the tailgut about 1/4" from your mark.
15
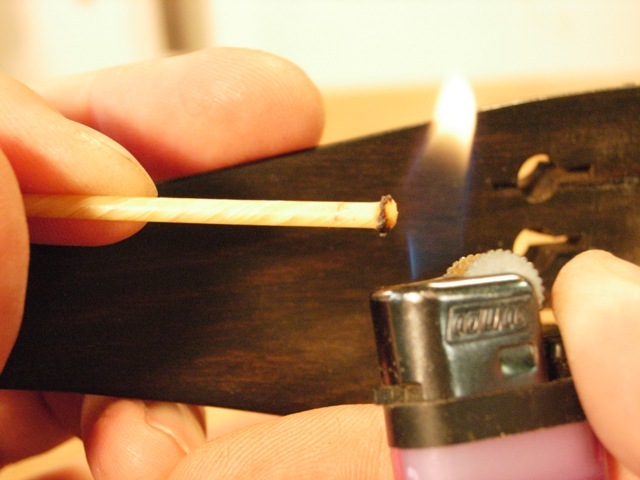
Burn the end of the gut about 1/8', or about 1/2 way down to your mark.
16
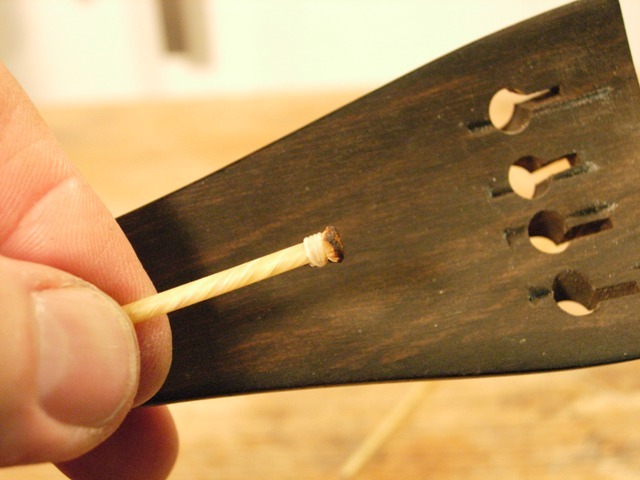
Repeat the tieing process described above, so that the wraps of the stitching gut come just down to your mark.
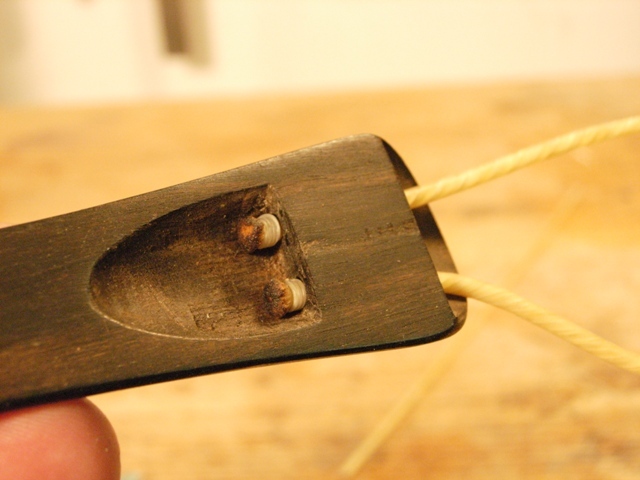
17
The sticthing gut will compress against the burnt tailgut ends and hold the gut in place.
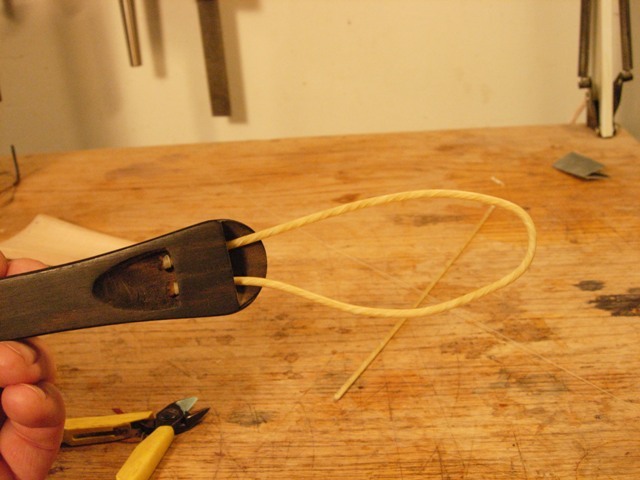
18
Now you have a nice, strong tailgut fitted and ready to go on the instrument.


